
How to Master Zenless Zone Zero: A Complete Guide to Combat, Agents, Team Building, and Progression
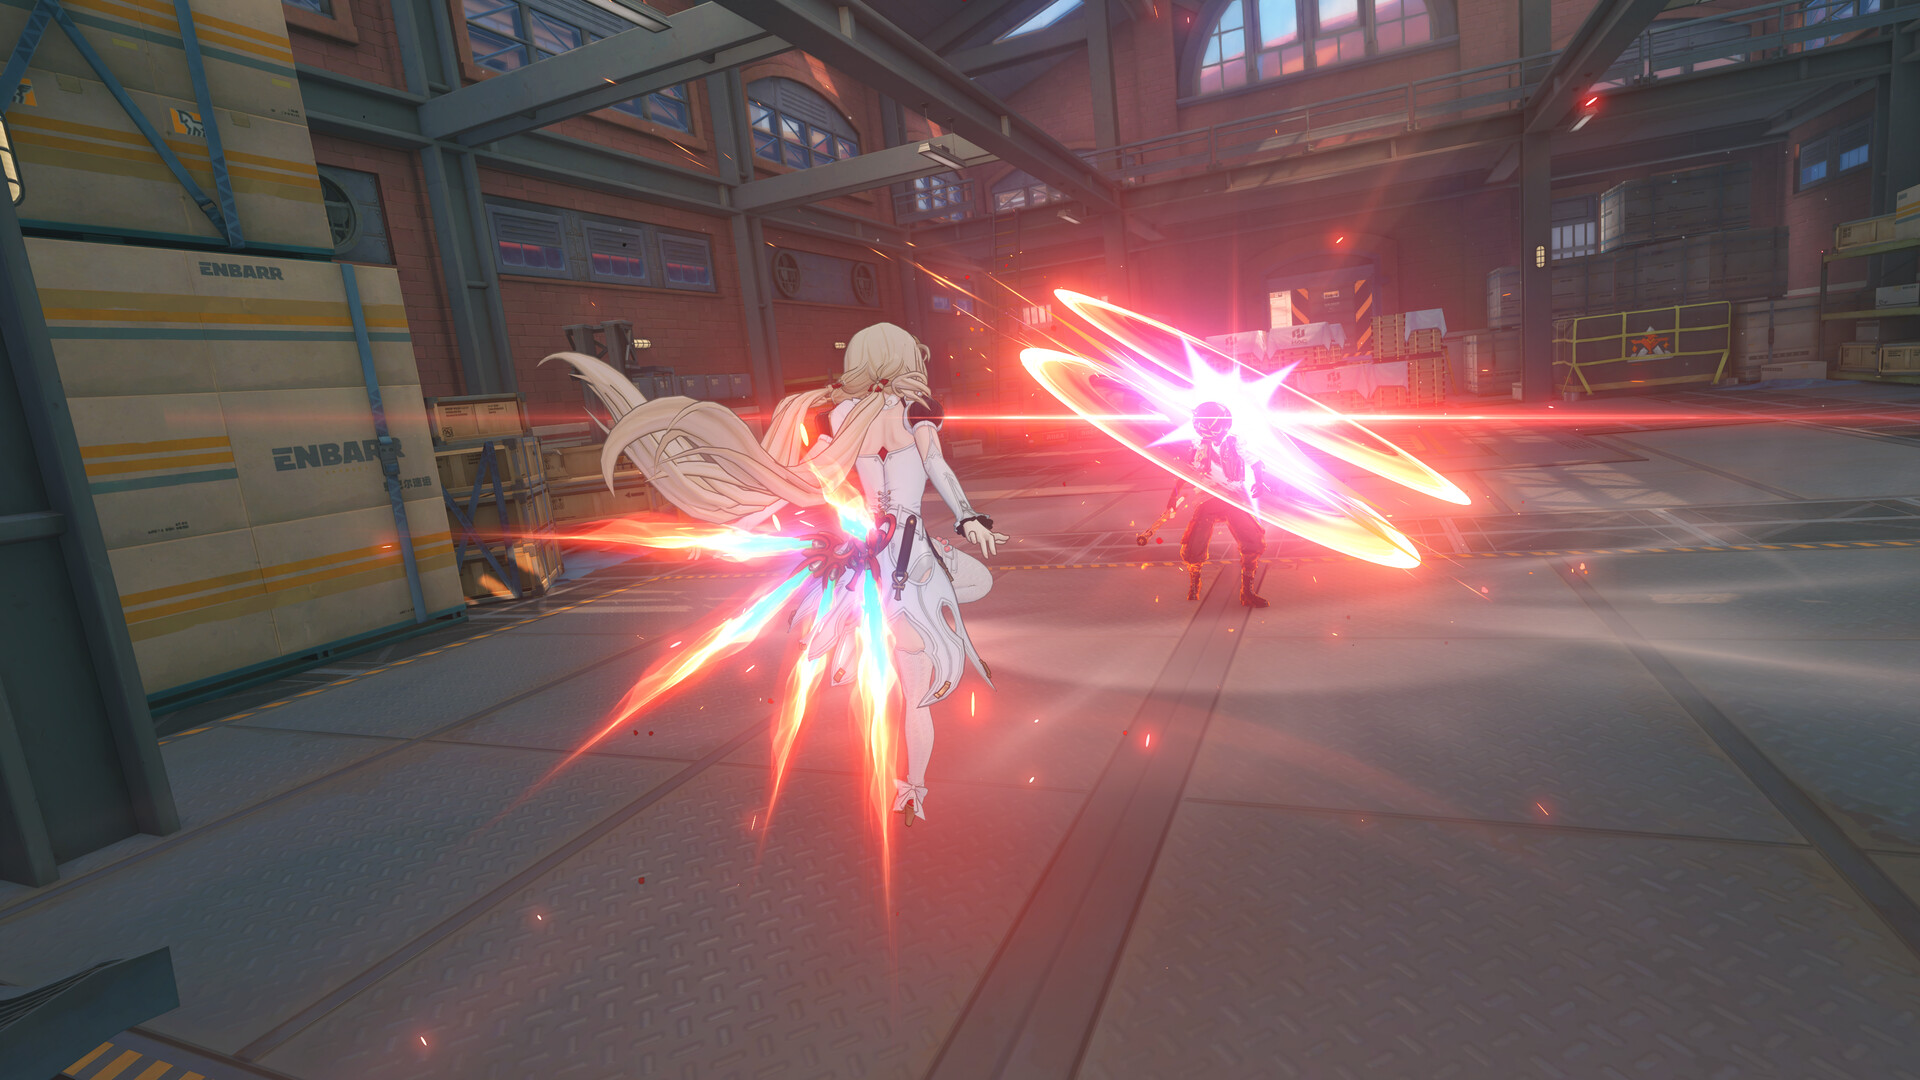
Zenless Zone Zero is an urban fantasy action RPG that combines fast-paced combat, stylish character animations, team-based strategies, and exploration through dangerous supernatural spaces known as Hollows. Players take on the role of a Proxy who helps Agents navigate dangerous environments while uncovering stories connected to New Eridu and its surrounding threats. Although the game initially introduces its systems gradually, mastering it requires understanding how combat mechanics, character roles, equipment, and progression work together.
For new players, one of the biggest challenges is deciding what to prioritize. The game offers multiple Agents, different combat specialties, upgrade materials, equipment sets, and numerous activities. Spending resources on every character can slow your progress, while ignoring combat fundamentals can make even a well-equipped team struggle against stronger enemies. The most effective approach is to build a reliable core team, learn how to exploit enemy weaknesses, and invest in upgrades that support a consistent combat strategy.
This guide explains how to progress from the fundamentals to more advanced play. You will learn how to assemble a balanced team, master dodges and Chain Attacks, use Stun and Anomaly mechanics, improve Agents, select equipment, manage resources, and prepare for challenging content. Whether you are starting your journey or trying to improve your existing account, these principles will help you make more informed decisions throughout Zenless Zone Zero.
1. How to Start Your Journey in Zenless Zone Zero
Your first priority is to understand the basic gameplay loop. Zenless Zone Zero combines story progression, exploration, combat encounters, character development, and resource collection. Early missions introduce the main mechanics, while additional features become available as you advance. Instead of trying to master everything immediately, learn each system as it becomes relevant.
Follow the main story and complete the tutorials carefully. These activities introduce the game's world, combat controls, Agent roles, and important progression features. Story progression also helps unlock activities and systems that contribute to long-term account development. If you encounter unfamiliar terminology, take a moment to understand it rather than skipping every explanation.
Focus on the Core Systems First
During the early game, prioritize learning these fundamentals:
- Basic attacks and special attacks
- Dodging and Perfect Dodges
- Enemy Daze and the Stun mechanic
- Chain Attacks and Ultimate abilities
- Agent switching and team composition
- Character leveling and equipment
- Daily and weekly progression activities
You do not need to develop every Agent you obtain. Choose a core team of three Agents whose abilities complement one another, then concentrate your early resources on them. A team with clear roles is generally easier to manage than a collection of individually upgraded characters that do not work well together.
Early progression is a good opportunity to experiment with different combat styles, but expensive or limited upgrade materials should be used thoughtfully. Test the Agents you enjoy, identify which ones fit your preferred approach, and establish a dependable team before investing heavily in additional characters.
2. How to Build a Balanced Agent Team
Team building is one of the most important skills in Zenless Zone Zero because every Agent contributes a different role to combat. A typical squad contains three Agents, and your goal is to make their abilities work together rather than simply selecting three characters with high individual damage. A balanced team can generate Daze, create opportunities for powerful attacks, and improve the damage output of its main damage dealer.
Prydwen Institute+1
Understand the Main Agent Specialties
Agents have different combat specialties that influence their roles:
- Attack: Focuses on dealing direct damage.
- Stun: Builds Daze quickly to disable enemies.
- Support: Provides buffs and other benefits to teammates.
- Anomaly: Applies Attribute Anomalies and deals damage through anomaly mechanics.
- Defense: Improves survivability and provides defensive utility.
These roles are not interchangeable in every situation. An Attack Agent might deliver the strongest direct damage, but a Stun Agent can create a window for that damage to become much more effective. A Support Agent can further improve the team's performance through buffs or other effects.

Prydwen Institute
For a straightforward team structure, consider pairing a primary damage dealer with a Stun Agent and a Support Agent. The Stun Agent creates opportunities, the Support Agent strengthens the squad, and the damage dealer takes advantage of those opportunities.
Anomaly-focused teams can use a different approach, emphasizing Attribute Anomaly buildup and interactions between different elements. The best structure depends on your available Agents and their individual mechanics.
Before finalizing your lineup, inspect each Agent's additional ability. Some Agents receive important benefits when paired with characters from particular factions or specialties. A team that activates these effects can perform better than a lineup assembled solely around character rarity.
Do not assume that every high-rarity Agent automatically belongs in your strongest team. Synergy, investment, and how comfortably you can execute the team's rotation are all important.
3. How to Master Dodging, Assists, and Enemy Attacks
Combat in Zenless Zone Zero rewards timing and awareness. Continuously attacking can work against weaker enemies, but tougher opponents have attack patterns that punish careless play. Learning how to recognize incoming attacks and respond correctly helps you survive while maintaining offensive pressure.
Your first goal should be to recognize the difference between ordinary attacks, attacks that can trigger a Perfect Dodge, and attacks that allow a Perfect Assist. A Perfect Dodge occurs when you evade at the correct moment, creating an opportunity for a Dodge Counter. A Perfect Assist lets you switch Agents at the appropriate moment to respond to a compatible incoming attack.
Prydwen Institute+1
Practice Perfect Dodges
Instead of dodging as soon as an enemy begins moving, observe the attack's timing. Many enemies have recognizable wind-ups that provide a brief opportunity to react. Dodging too early can leave you vulnerable when the actual hit arrives.
When an enemy signals an attack that supports a Perfect Assist, switch to the appropriate teammate at the correct moment. Depending on the attack and your available Assist Points, the response can help avoid damage or interrupt the enemy's offense.
After a successful assist, follow up with an appropriate attack when the situation allows. This turns a defensive action into an offensive opportunity.
Use easier encounters to learn attack animations before attempting difficult challenges. Pay attention to the distance between you and the enemy, the timing of its wind-up, and whether the attack repeats in a predictable sequence.
Beginner tip: Surviving consistently is more valuable than forcing an extra attack. Once you can dodge reliably, you can gradually learn which moments are safe for longer combos.
4. How to Use Daze, Stun, and Chain Attacks for More Damage
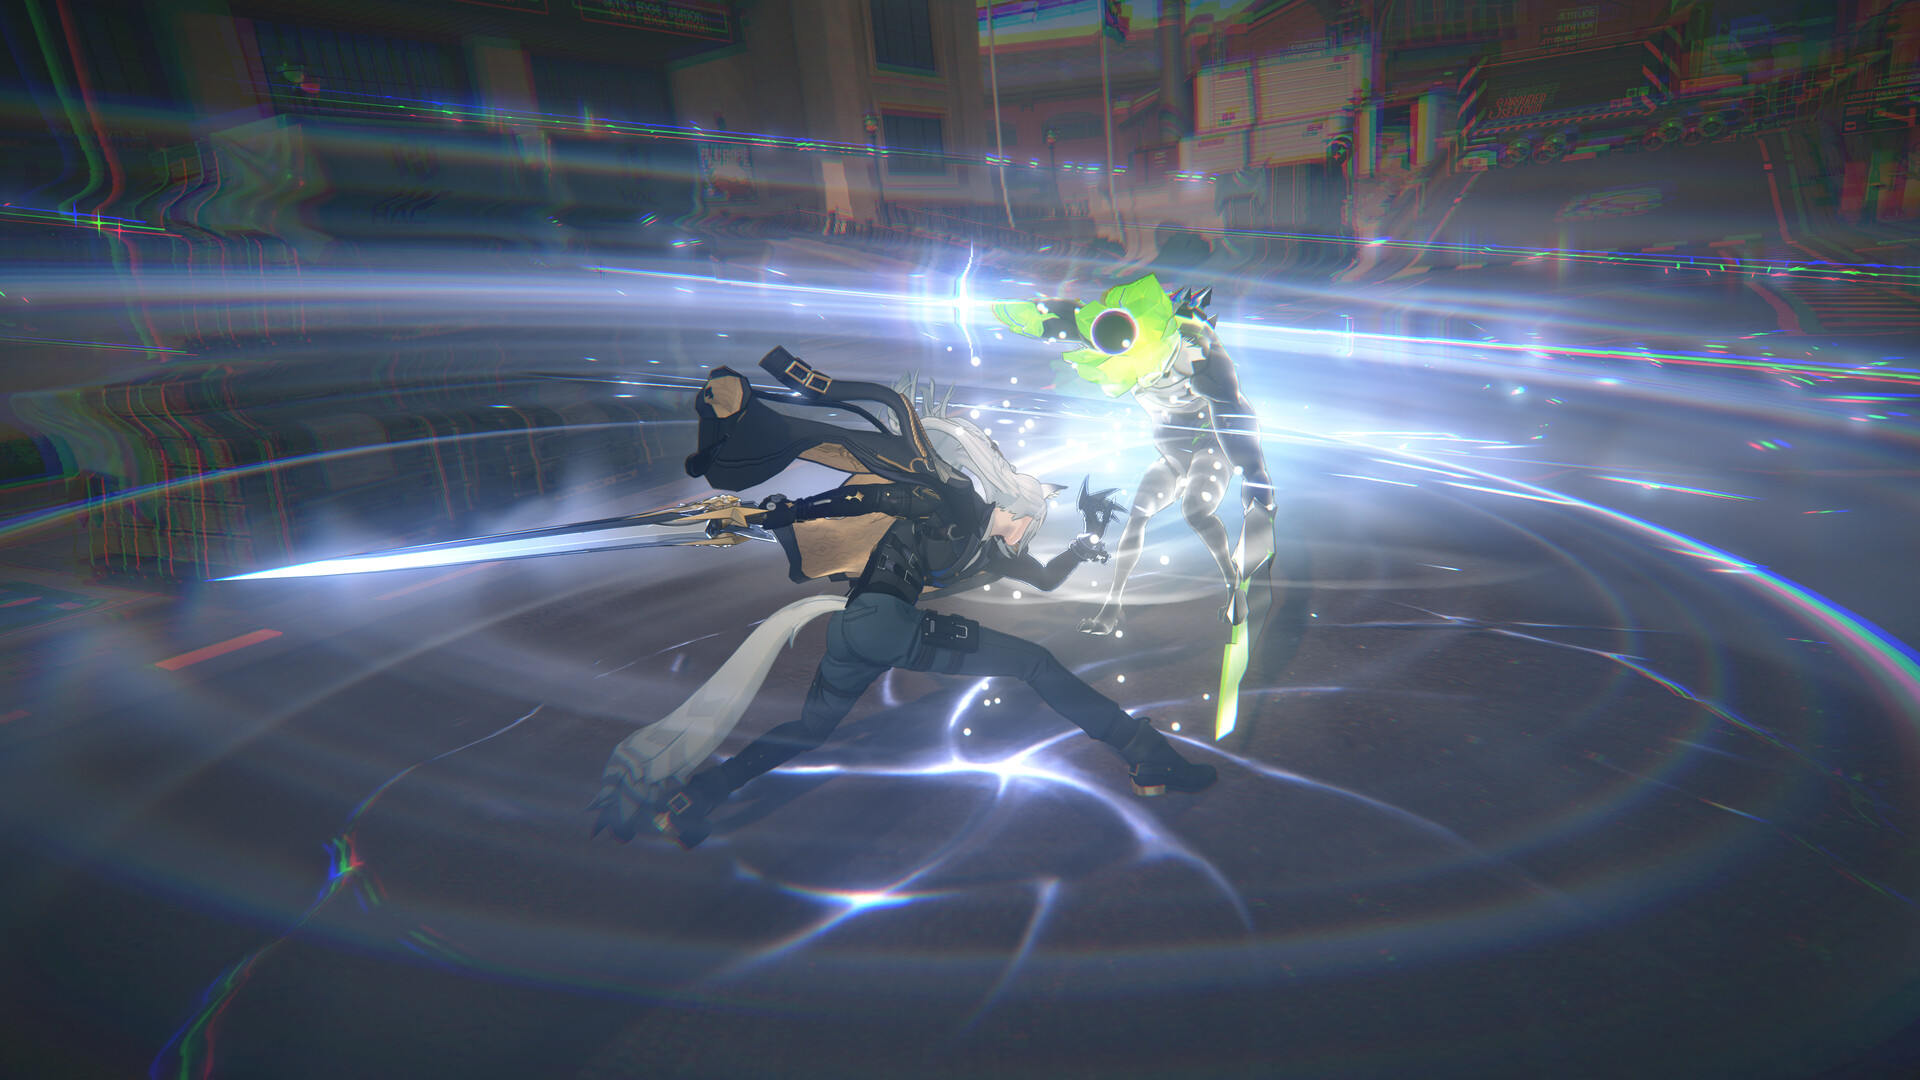
Daze is a central part of Zenless Zone Zero's combat system. As you attack enemies, you build up their Daze gauge. When it reaches its threshold, the enemy becomes Stunned, creating an opportunity to deal substantial damage while the opponent is unable to act normally. Heavy attacks and the abilities of Stun Agents can help you build Daze more efficiently.
Prydwen Institute+1
Build Daze Before Using Your Strongest Attacks
Against a durable enemy, avoid spending every powerful ability without considering the upcoming Stun window. Build Daze through appropriate attacks, use available EX Special Attacks when they fit your rotation, and prepare your damage dealer to exploit the opening.
This approach is particularly useful against elite enemies and bosses, where a well-timed damage window can have a much greater impact than scattered attacks.
When an eligible enemy becomes Stunned, landing a qualifying heavy attack can trigger a Chain Attack. You can then select an available teammate to perform their Chain Attack before the opportunity expires. The number of opportunities depends on the enemy and combat conditions.
Prydwen Institute+1
Use this window to bring in teammates whose abilities contribute the most value. A Support Agent may help strengthen the upcoming damage sequence, while your main damage dealer can deliver a powerful follow-up.
After the Stun window ends, return to building Daze and preparing your next sequence. Watch your Energy, available EX Special Attacks, and the condition of your team.
The key is to develop a repeatable cycle:
- Build Daze.
- Trigger Stun.
- Execute Chain Attacks.
- Deliver concentrated damage.
- Rebuild resources and repeat.
5. How to Use Attribute Anomalies and Elemental Weaknesses
Attribute Anomalies provide another important route to damage. As Agents deal attribute damage, they accumulate Anomaly buildup on enemies. When enough buildup is applied, the corresponding effect activates. Different attributes produce different results, making it important to understand how your team interacts with a particular enemy.
Zenless Zone Zero+1
Understand the Different Attributes
Zenless Zone Zero includes attributes such as Physical, Fire, Ice, Electric, and Ether, with additional attribute systems introduced through game updates. Their effects vary, and the right choice depends on the Agent's mechanics and the enemy you're facing.
For example, Electric buildup can inflict Shock, while Fire buildup can inflict Burn. Other attributes provide their own effects, including damage bursts, interruption, or changes to enemy vulnerability. Check the descriptions of your Agents and the target's resistances instead of assuming every element behaves the same way.
Zenless Zone Zero+1
Anomaly-focused teams aim to apply buildup efficiently and trigger their effects at the right moments. Some teams specialize in one attribute, while others combine different attributes to activate additional effects.
When combining different Attribute Anomalies, Disorder can trigger additional damage based on the Anomaly interactions involved. This makes the order and timing of your attacks important when using a team built around these mechanics.
Prydwen I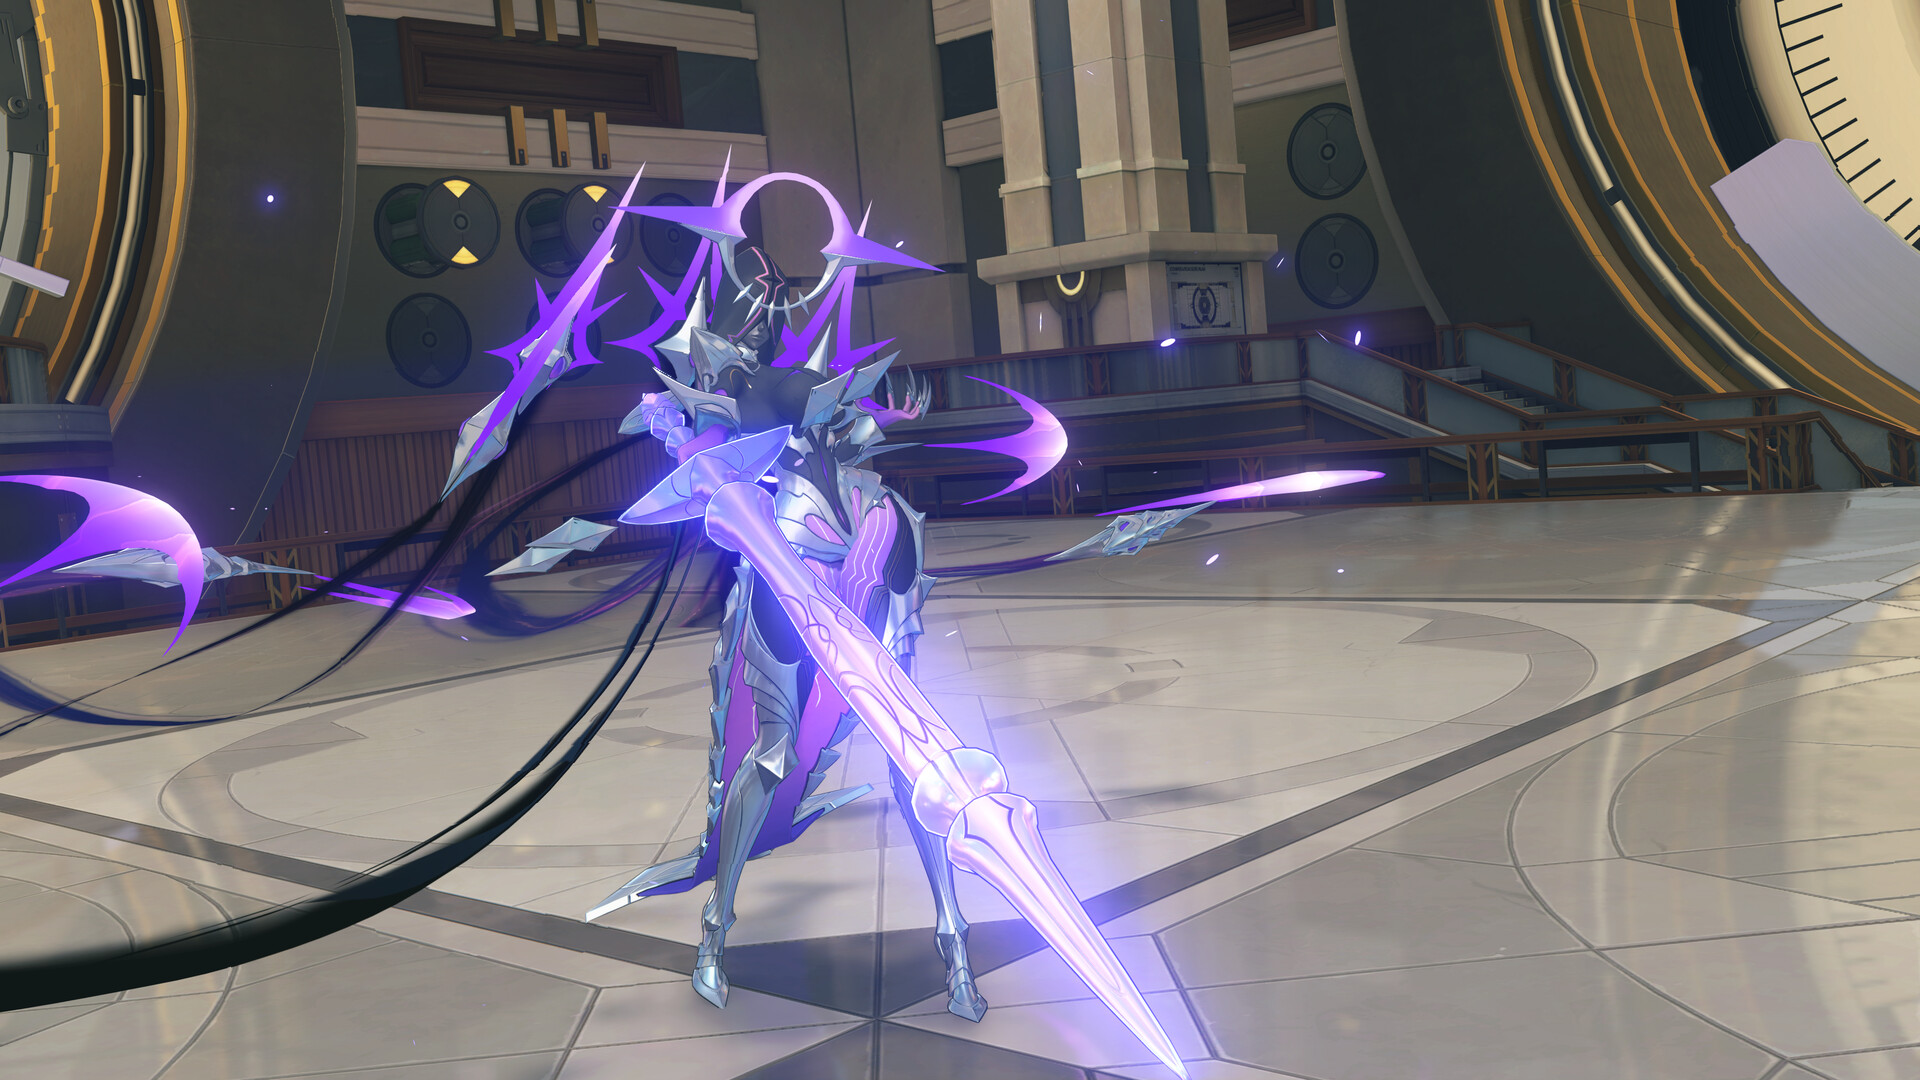 stitute
When the mission provides information about enemy attributes or resistances, use it to guide your team selection. An Agent who performs well against one enemy may be less effective against another.
You do not need to build a completely new team for every encounter. However, understanding weaknesses can help you decide which of your existing teams is best suited to the challenge.
6. How to Upgrade Agents, Skills, and W-Engines
As you progress, your Agents will need more investment to keep up with stronger enemies. Character levels alone are not enough to guarantee good performance. Skills, W-Engines, promotion materials, and other progression systems contribute to the strength of your squad.
The most efficient strategy is to concentrate on your primary team rather than spreading resources across your entire roster. Start with the Agent who contributes the most to your team's damage or core strategy, then upgrade the teammates who enable that strategy.
Prioritize Upgrades With a Clear Purpose
Consider the following investment order as a general starting point:
- Raise your core Agents to appropriate levels.
- Improve the skills that contribute most to their roles.
- Equip a suitable W-Engine.
- Unlock relevant promotion and skill upgrades.
- Improve equipment and secondary stats as your account develops.
The exact priority depends on the Agent. A damage dealer may benefit most from upgrades that improve their primary damage abilities, while a Stun Agent needs investments that support efficient Daze buildup and their role in the team's rotation.
W-Engines provide stats and passive effects. Whenever possible, equip one that suits the Agent's specialty and intended function. A high-rarity option is not necessarily the best choice if its passive does not support the character's gameplay.
Resource costs accumulate quickly when you develop many Agents simultaneously. Build one dependable team first, then expand your investment as new challenges require additional lineups.
Zenless Zone Zero's Agent Guides feature can also provide character-specific upgrade priorities and suggested team compositions, making it a useful reference when you are unsure what to develop next.
Zenless Zone Zero Official Site
7. How to Choose Drive Discs and Improve Agent Builds
Drive Discs are an important part of character optimization. They influence an Agent's stats and can provide set bonuses that support particular combat roles. A strong build should improve the character's intended function rather than simply maximize a single stat without considering the rest of the team.
Before farming equipment, decide what you want the Agent to accomplish. A direct damage dealer may need a balance of offensive stats, while an Anomaly Agent benefits from stats that support their buildup and Anomaly damage. A Stun Agent generally prioritizes attributes that improve their ability to create Stun windows and support the team's rotation.
Match Equipment to the Agent's Role
When evaluating Drive Discs, consider:
- Whether the set bonus supports the Agent's mechanics
- Which main stats are appropriate
- Whether substats improve the intended role
- How the build fits into the complete team
- Whether your current equipment is already sufficient
Do not chase perfect substats before establishing a functional build. A coherent set with suitable main stats can provide more immediate value than an incomplete collection of theoretically ideal pieces.
For damage dealers, offensive stats are often important, but the exact balance depends on the Agent. Anomaly-focused characters have different requirements from characters who rely primarily on direct damage and critical hits.
As your account develops, replace weaker pieces with better options. Avoid spending all your resources chasing small improvements when other important upgrades remain incomplete.
The goal is to create a reliable build that performs consistently in real combat, not simply one that looks impressive on a character screen.
8. How to Manage Resources and Daily Progression
Resource management becomes increasingly important as you develop more Agents. Dennies, experience materials, skill materials, promotion resources, and equipment upgrades all compete for your available stamina and time.
The best approach is to establish a progression priority. Identify which Agent or system will provide the greatest immediate improvement, then direct your resources toward that goal. If your main damage dealer is underleveled, additional farming for minor equipment improvements may not be the most efficient next step.
Use Your Daily Resources Purposefully
A practical routine includes:
- Claim available daily rewards.
- Complete relevant daily activities.
- Spend Battery Charge on needed materials.
- Progress through suitable story or combat content.
- Check weekly activities and limited-time events.
- Review your upgrade requirements before the next session.
The available activities and rewards may change with game updates, so use the current in-game menus to confirm what is active.
Before entering a material stage, identify what you need and how much remains. This prevents you from repeatedly farming resources that do not contribute to your immediate progression.
Events may provide useful rewards, including upgrade materials and other progression resources. Check their requirements and completion deadlines so you can prioritize valuable rewards while they are available.
A consistent routine usually produces better long-term results than spending resources randomly whenever a new upgrade becomes available.
9. How to Prepare for Difficult Combat Challenges
As your roster develops, you will encounter combat challenges that demand more than basic attacks and a suitable team. These encounters may test your ability to dodge, exploit weaknesses, manage rotations, and defeat enemies within specific conditions.
Before entering a difficult mission, read the objectives and enemy information. Determine whether the challenge favors direct damage, Anomaly buildup, or a particular team configuration. If your current lineup struggles, identify the cause before spending resources on broad upgrades.
Diagnose the Problem Before Changing Your Team
If you cannot defeat an enemy efficiently, ask:
- Is my main damage dealer sufficiently upgraded?
- Am I building Daze effectively?
- Am I missing important Chain Attack opportunities?
- Is the enemy resistant to my team's damage type?
- Am I using EX Special Attacks at useful moments?
- Am I losing too much time to avoidable damage?
A rotation is the sequence in which you use your Agents' abilities to produce a useful result. For a team centered on Stun, that may mean building Daze, activating buffs, and unleashing the damage dealer during the Stun window.
For an Anomaly team, the rotation may focus on building attribute buildup and triggering the team's intended interactions. Practice these sequences in manageable encounters before relying on them in difficult content.
Some modes reward sustained performance, while others place greater emphasis on burst damage, survival, or specialized mechanics. Adjust your equipment and team strategy to the actual requirements rather than relying on one approach for every encounter.
10. How to Master Zenless Zone Zero in the Long Term
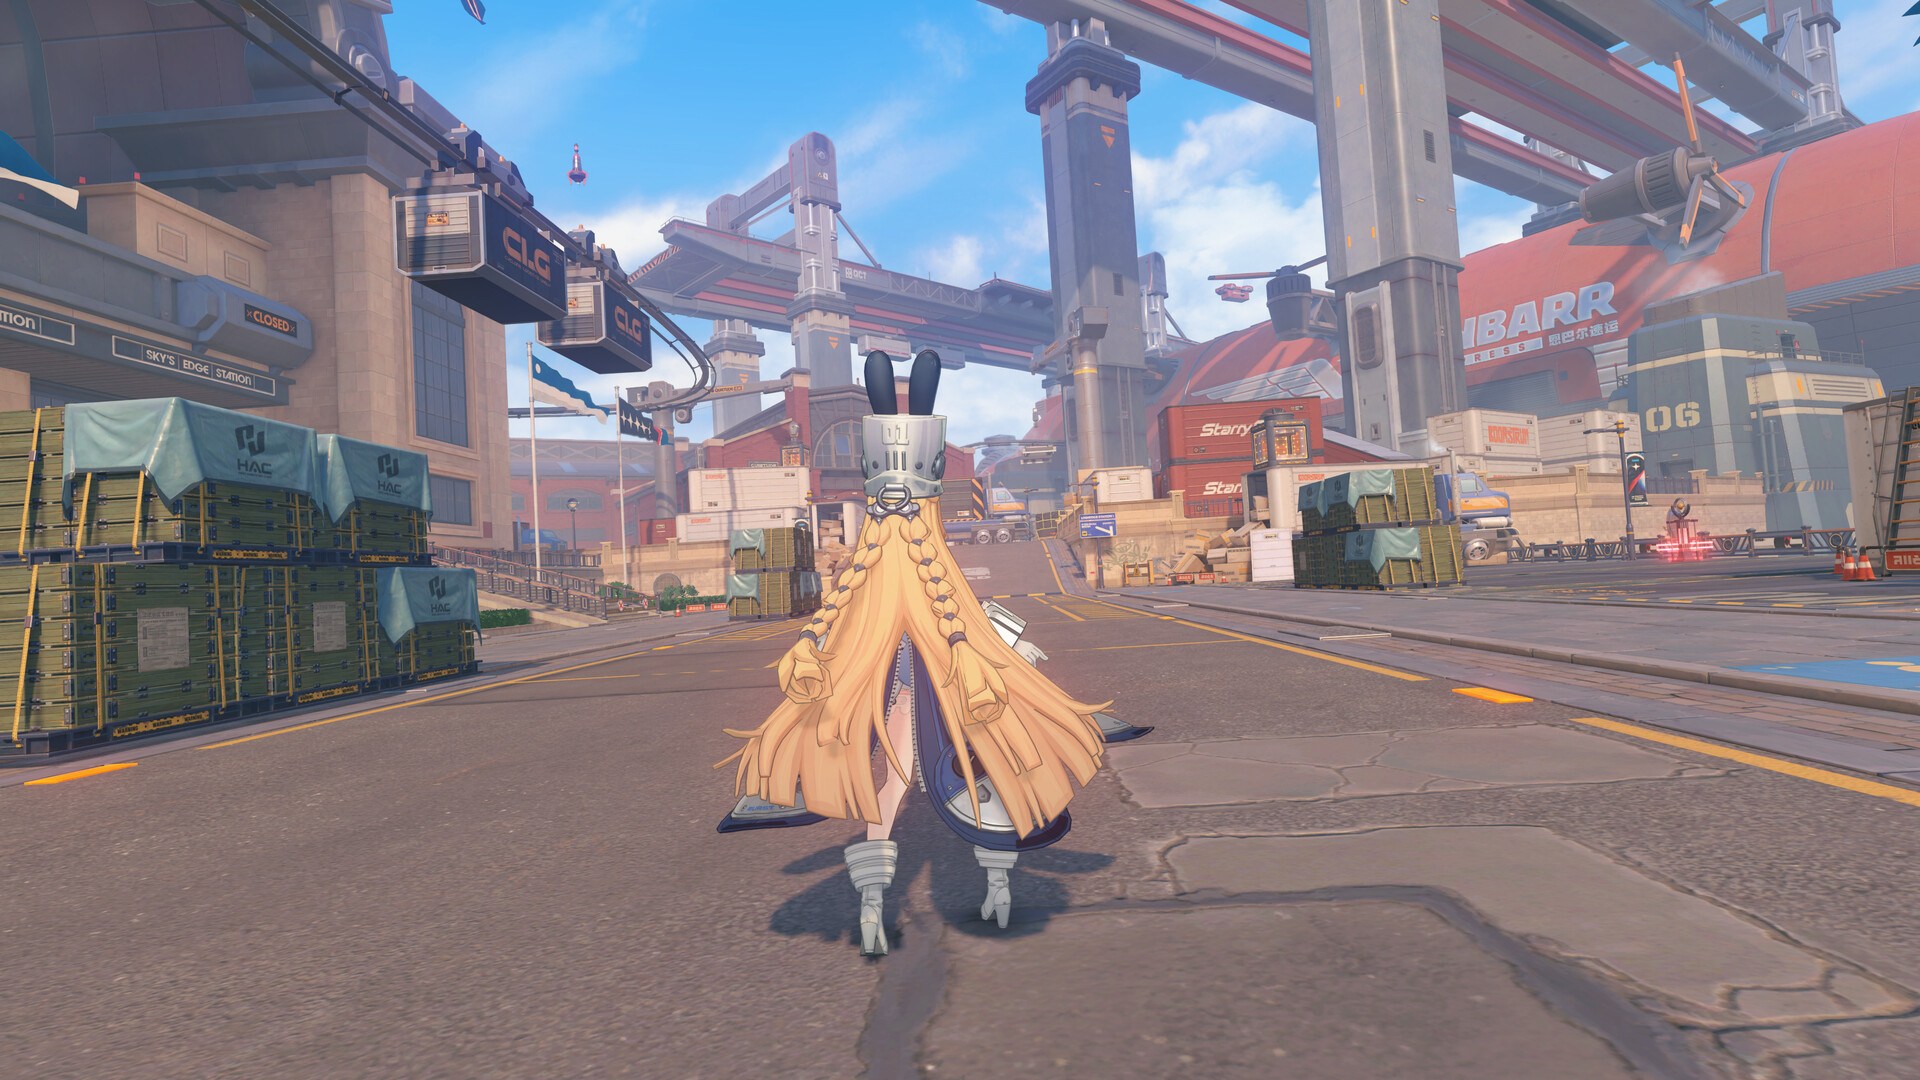
Long-term progress comes from combining combat skill with thoughtful account development. Once you understand the basics, you should focus on making your teams more consistent, reducing wasted resources, and learning how individual Agents fit into different combat situations.
You do not need every available character to build a capable account. A small collection of well-developed teams with clear roles can be more useful than a large roster whose members lack the levels, equipment, and skills required for difficult content.
Establish a Repeatable Improvement Routine
After each challenging mission, review what happened. If your team survived comfortably but dealt too little damage, improve its offensive setup or rotation. If your damage output was strong but you repeatedly lost health, work on dodging, positioning, and enemy attack recognition.
New Agents, equipment, and combat systems can change which team compositions are effective. Use current in-game descriptions and character guides to understand unfamiliar mechanics. Experiment with new combinations when you have enough resources, but avoid abandoning a reliable team solely because a new character becomes available.
The most useful measure of progress is whether you can clear content reliably and understand why your strategy works. Perfect equipment and the rarest characters are not substitutes for learning combat mechanics.
Build a solid foundation, invest in a focused roster, and improve one weakness at a time. This creates steady progress without requiring unnecessary spending or excessive resource farming.
Conclusion
Mastering Zenless Zone Zero requires a combination of combat execution, team-building knowledge, and careful progression planning. Learning to dodge at the right moment helps you avoid damage, while Perfect Assists and Chain Attacks let you turn enemy openings into offensive opportunities. Understanding Daze and Stun allows your team to concentrate damage during vulnerable windows, while Attribute Anomalies provide additional ways to exploit enemy weaknesses.
Team composition should be built around synergy rather than rarity alone. Choose Agents whose specialties complement one another, check their additional ability requirements, and invest in a small core roster before expanding. Improve skills, W-Engines, and Drive Discs according to each Agent's role, and spend your resources on upgrades that solve real weaknesses.
Daily activities and material farming provide the foundation for long-term development, but the way you use those resources matters. Prioritize clear upgrade goals, take advantage of relevant events, and review your team's performance when difficult encounters become frustrating. Instead of changing everything at once, identify whether the problem comes from equipment, team synergy, combat timing, or enemy resistance.
Above all, remember that Zenless Zone Zero rewards both preparation and practice. A well-built team gives you the tools to succeed, but understanding its rotation and responding to enemy behavior determines how effectively you use those tools. With consistent practice and sensible investment, you can develop stronger teams, clear more demanding challenges, and enjoy the game's combat system to its fullest.